
I’ve been waiting to get my hands on this kit for awhile now. Before I go on any further, this is my very first GunPla. Well that’s not exactly true cause my very first one would be around 8 years ago? Maybe longer LOL. A more accurate term would be my very first Master Grade =D
You can probably see from the pictures that are gonna be posted here, most of the nub marks are indeed visible. Yes…they make me cry too but please have mercy. Like I said, it’s been a really long time since I did a gundam kit and last time I used my bare hands, I kid you not. I twisted and pulled the parts and saw all the nub marks or scratches everywhere. But what the hell did I care? I was 6 years old ahahhahaha.
Enough random blabings! Today I shall start on the model shown below:
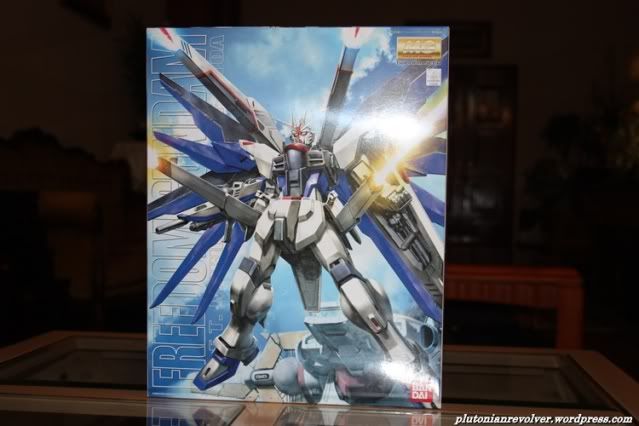
1/100 MG Freedom's Box art
This is the 1/100 scale master grade Freedom Gundam from the Gundam Seed series. It’s more formal name is ZGMF-X10A Freedom. This is main character, Kira Yamato’s second mobile suit in the show. I shall review this model kit after I am done constructing it.
Let’s get started on the construction shall we?
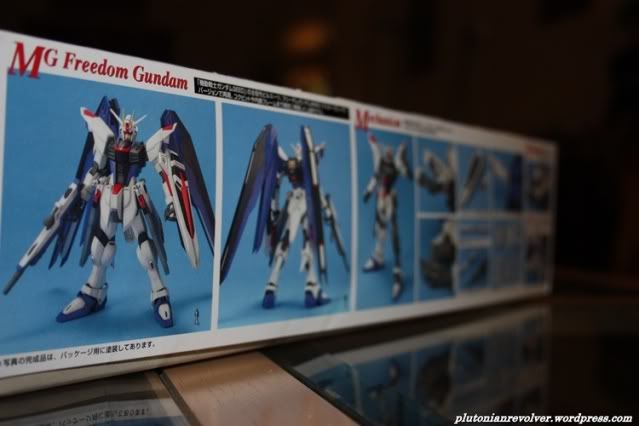


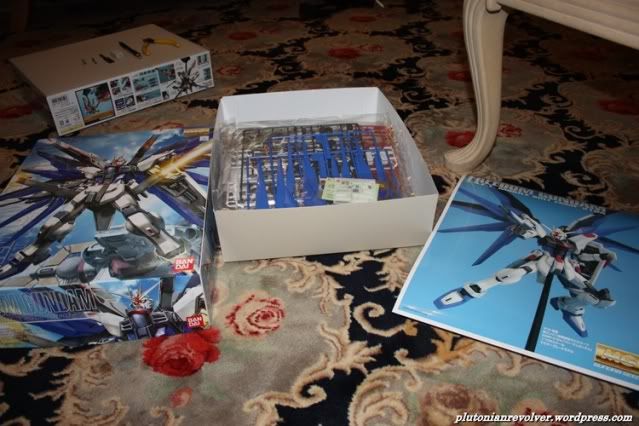
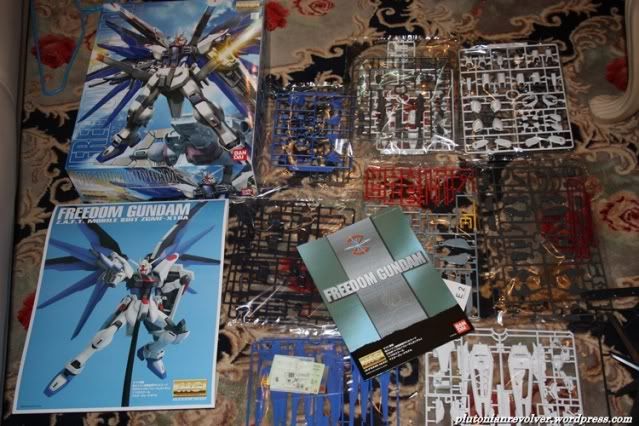
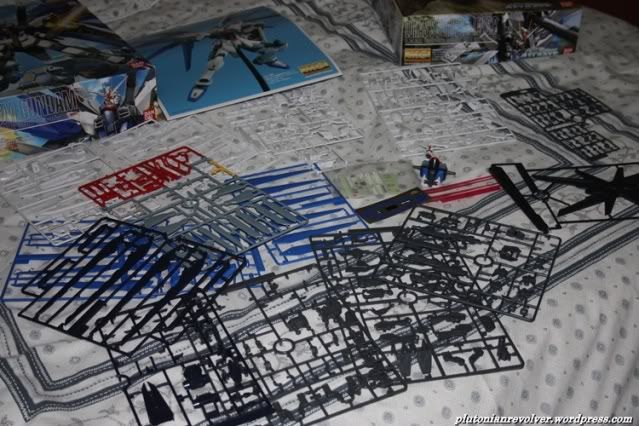
Shown above: The box, the picture included in the box, plastic wrapped runners and the manual
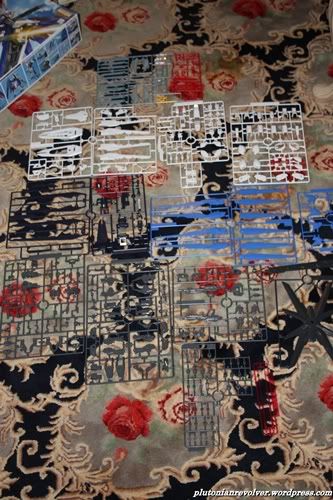
A total of 16 runners including the beam effect parts, polycaps and parts for the stand

Foil Stickers

Dry transfer decals

Normal stickers? Including the warnings I think XD
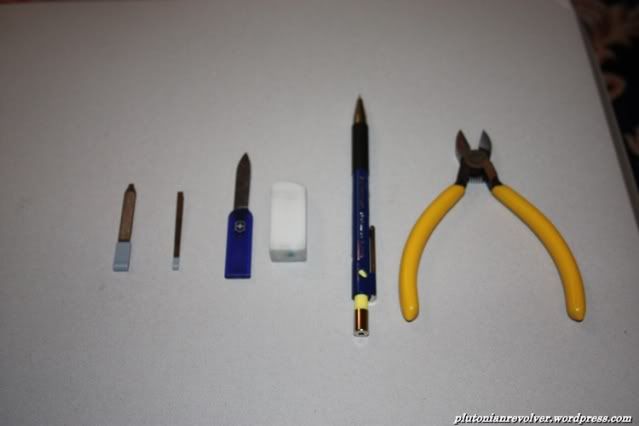
My tools. Still at beginners level =D ahhaha

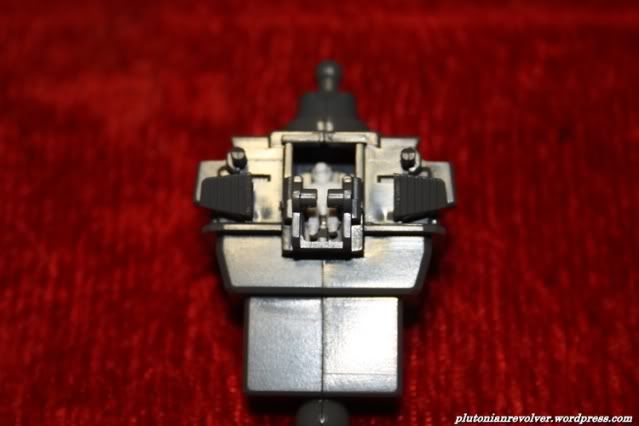
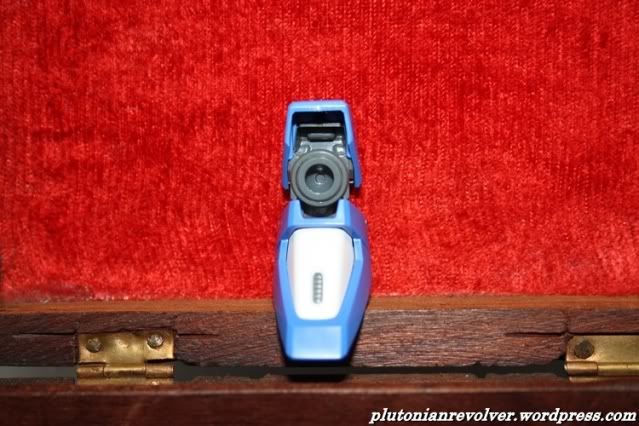
Head construction part 1
Head construction part 2
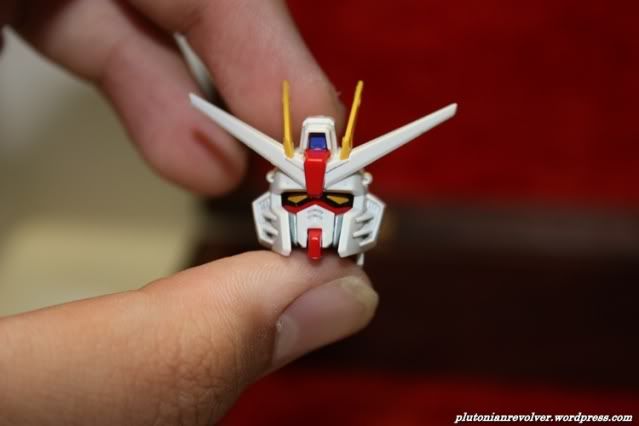
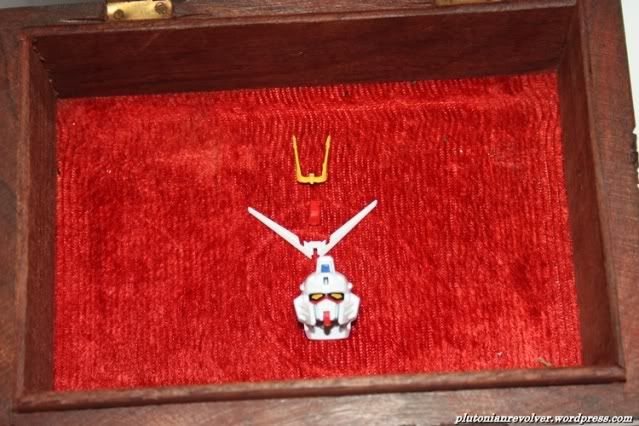
Completed head front

Completed head back
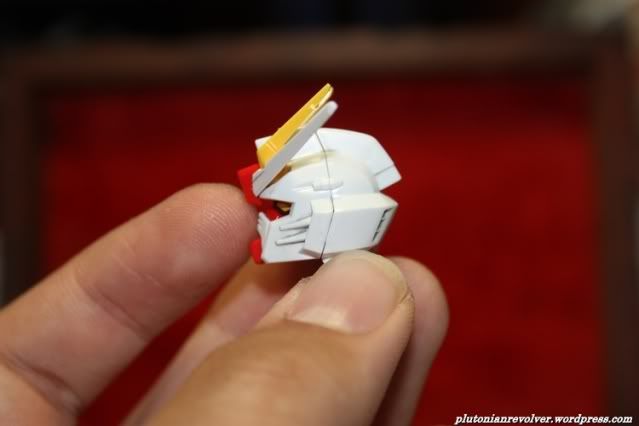
Side view
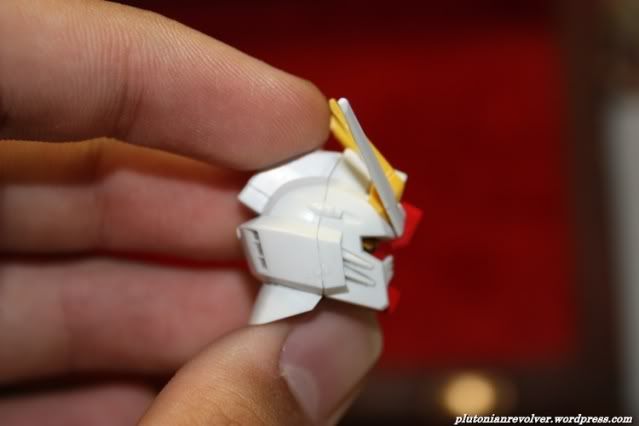
Side view 2

Body construction part 1
Body construction part 2
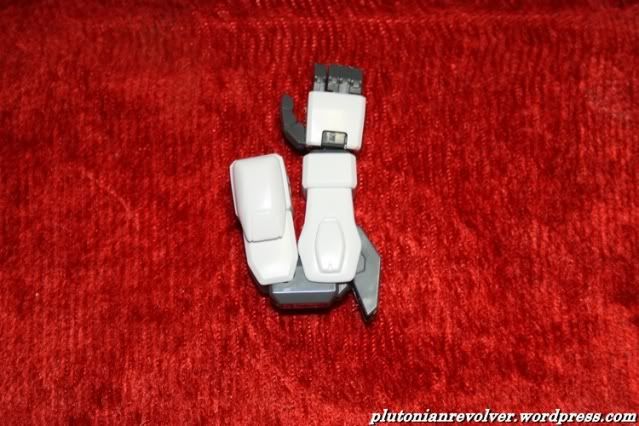
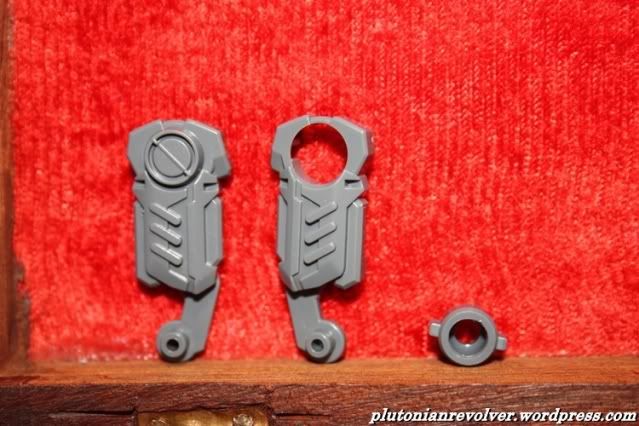
Construction of joints for the arms?

Assembled~ ready for the shoulder to be added on next time LOL
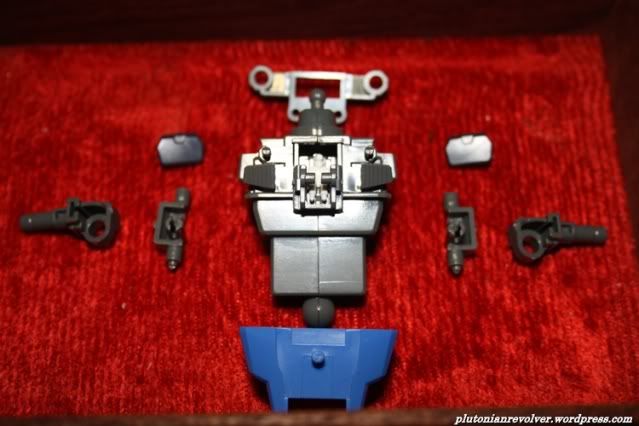
Upper body part ready for the armor pieces

Continuing assembly of the upper body
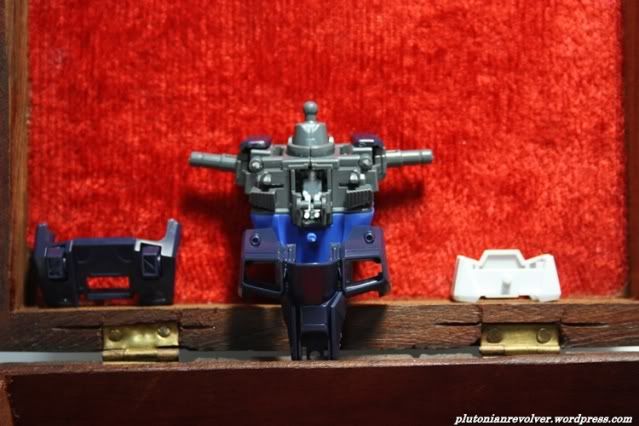
Ho ho~ Upper body part done? But where's the head and arms?! LOL XD
Aftermath of the first day of construction XD
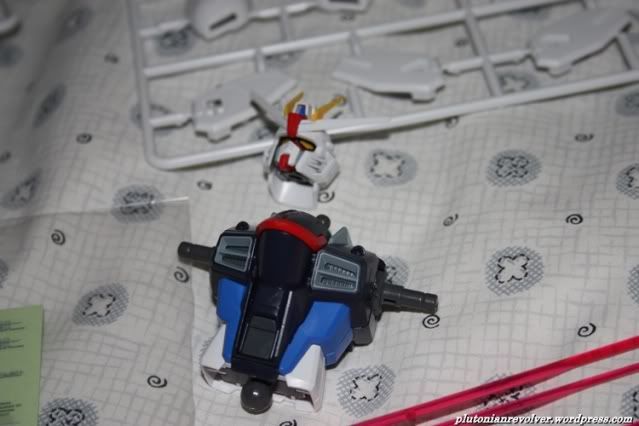
The 2 pieces assembled today
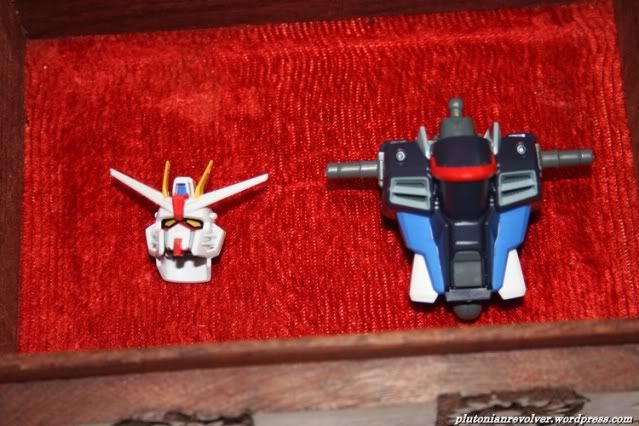
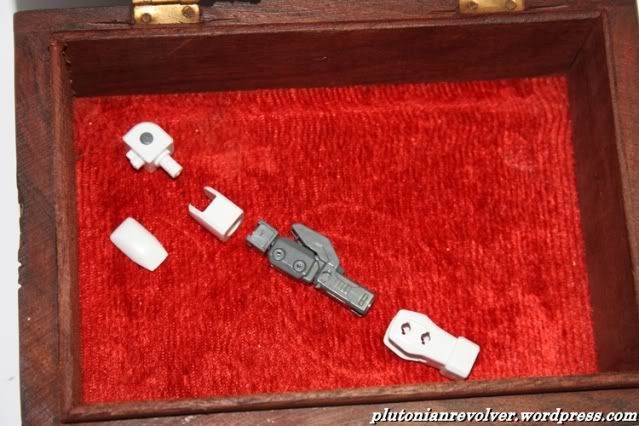
Time to keep them in a safe place for the time being
And that’s it for today. I need rest XD
I seriously need to improve myself. As you can see from the pictures above, nub marks are visible throughout and it hurts me to see them LOL. Day 1 of construction..ended.
Day 2 Update(20/5/09)
Well today I took 4 hours just to do the left arm. LOL Crazy shit indeed.

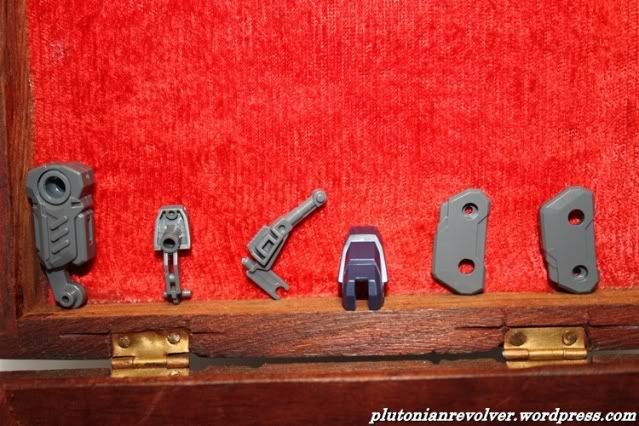
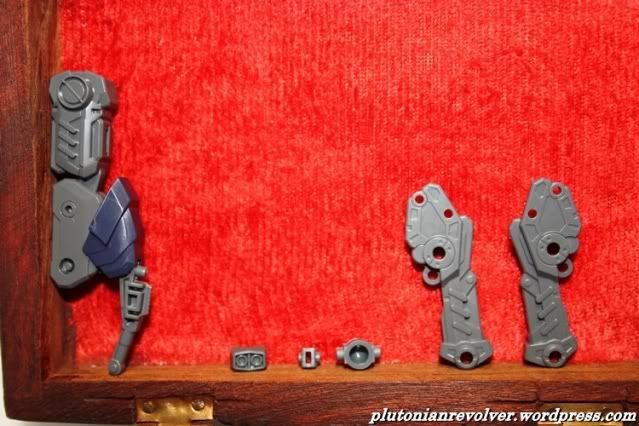
Construction of top part of the arm including the socket to fit the arm onto the left joint on the body
Assembling some armour parts onto the naked arm XD
Pieces to construct the fingers *trying to clean the nub marks on the fingers is a pain the ass!!*
Fingers assembled
More armour pieces for the arm. The white middle one is for the hand
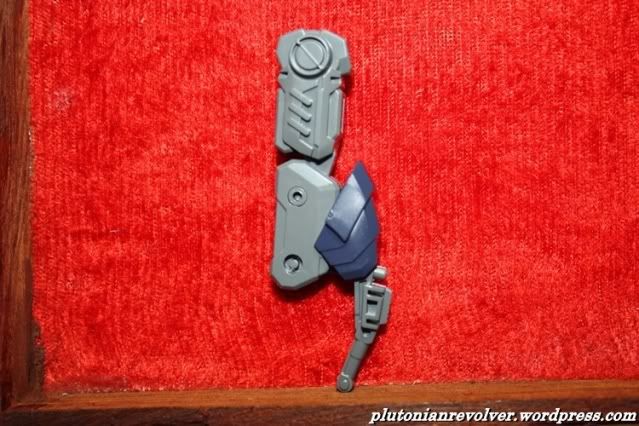
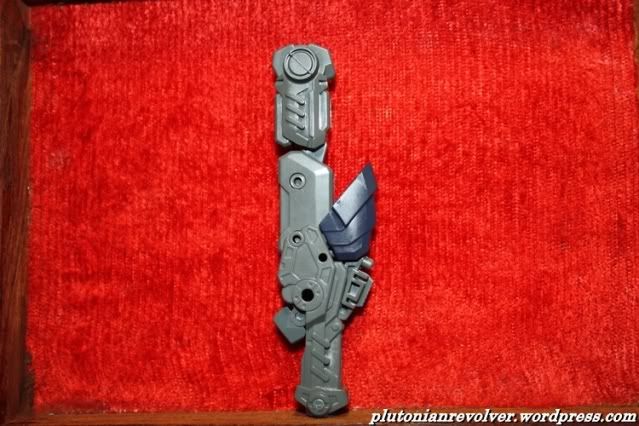
Arm assembled! Yeah nub marks galore =( ahhahaha
Its double jointed. That's how far it can bend. Impressive! LOL Well it's what most master grades have anyway X)

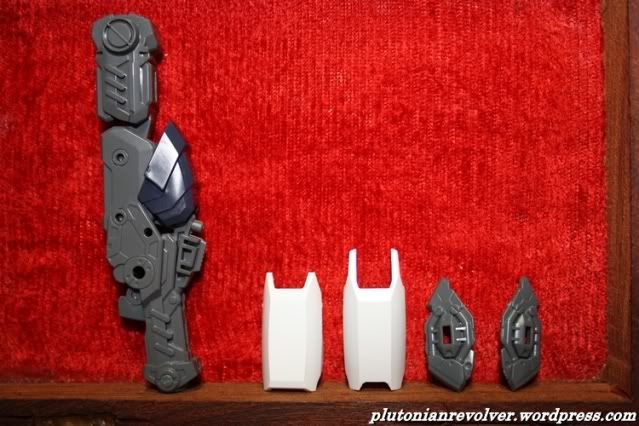
Pieces to assemble the shoulder pads...wait..where's the top part?!
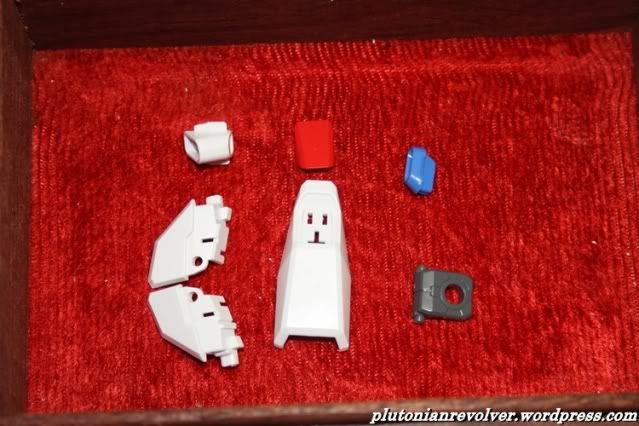
There you are! LOL I forgot to cut it out from the runner >.>
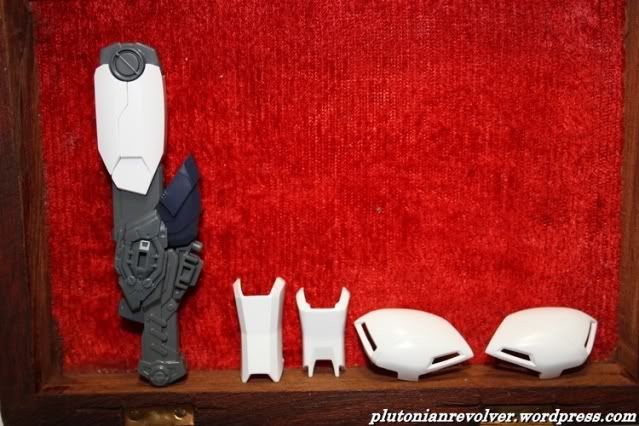
Completed the left arm..or right arm..whatever XD
25% complete..rough estimate XD
Ahh..time to keep you in a safe place. I shall see you tomorrow!
Well, that’s it for day 2. Hope tomorrow’s gonna be more productive LOL, till then. Sayonara~
Day 3 Update (21/5/09)
Nothing much, around 4 hours again to do the other arm(I’m so messed up I don’t even know which arm is on which side now LOL) and the groin area(not including the legs) A bit more progress than yesterday but at the cost of my eye. Seriously my eyes feel blurry now. Damn you GunPla! You’re making me need spectacles LOL Hopefully some rest will do me good.
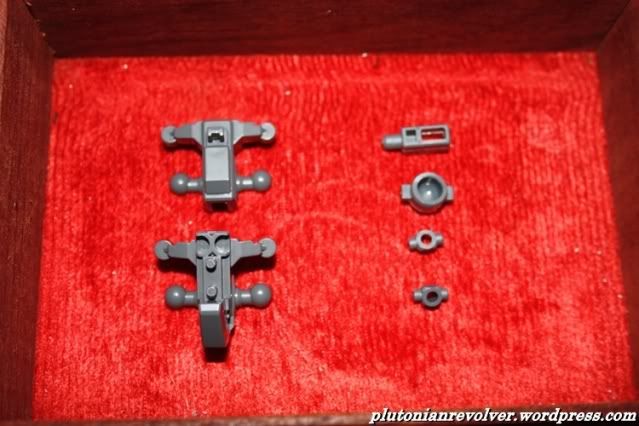
Parts for the inner skeleton of the groin area XD
Mid: Inner skeleton of the "lower" body LOL. On the sides are pieces to construct the back skirt? Let's just call it lower back armour =D
From left to right: Completed lower body "armour", inner skeleton of lower body, and pieces for constructing the front skirts and armour pieces to put on
Lower body part completed!..well excluding the legs =P
Panel lined the back 'armour'
Panel lined the front skirts. Kind of messy I know XD
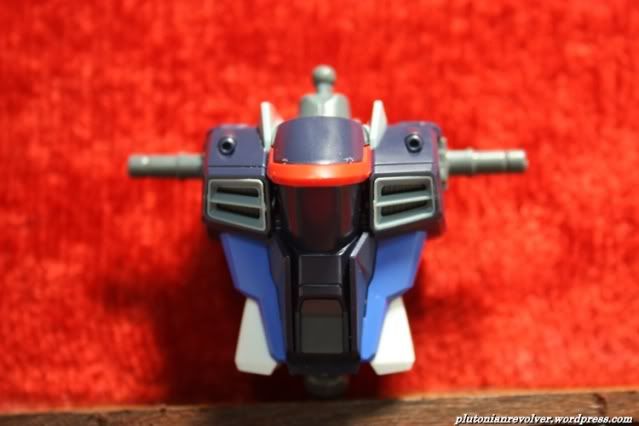
Upper body part completed!
Upper and lower body parts next to each other
35-40% completed? Not sure XD
And there you go. That was day 3 of construction. Hope to finish the legs off tomorrow. Maybe even the wings! Well that’s just hoping LOL seeya tomorrow? Thanks for viewing =)
Day 4 Update(22/5/09)
I’m done with the legs! Wooot..kinda rushed them though so disappointed with all the marks left behind here and there LOL. Now that’s left are the Freedom’s ‘wings’ and weapons.
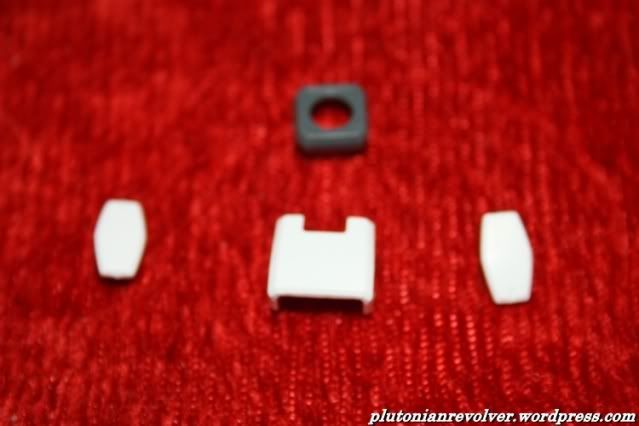
Pieces for the "shoe" XD
More pieces for the shoe!
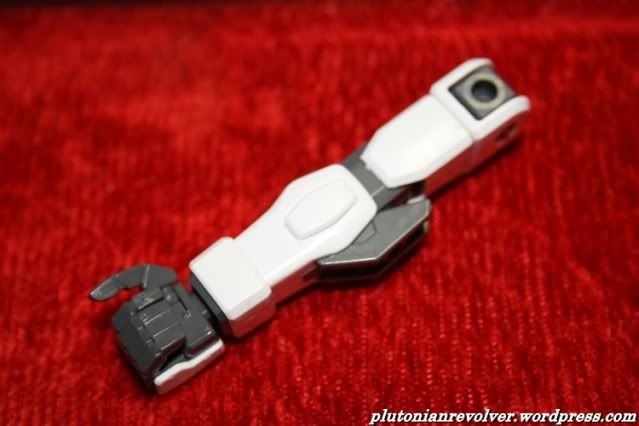
Completed shoe! Took me close to 40 mins o.O what was I doing? ahhahaha XD
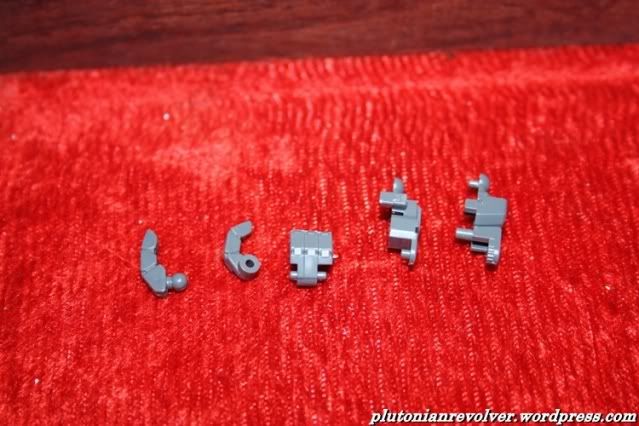
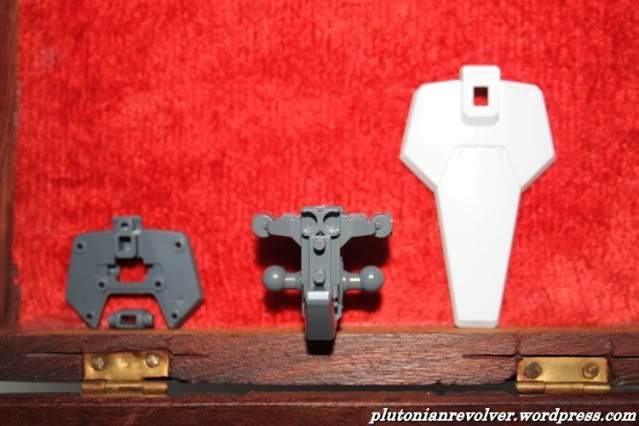
Parts for the upper leg construction
More parts for the leg construction
Upper leg construction completed. Stupid blue piece was such a pain to clean so I gave up. I need gundam markers ><"!!
Parts for the lower part of the leg construction
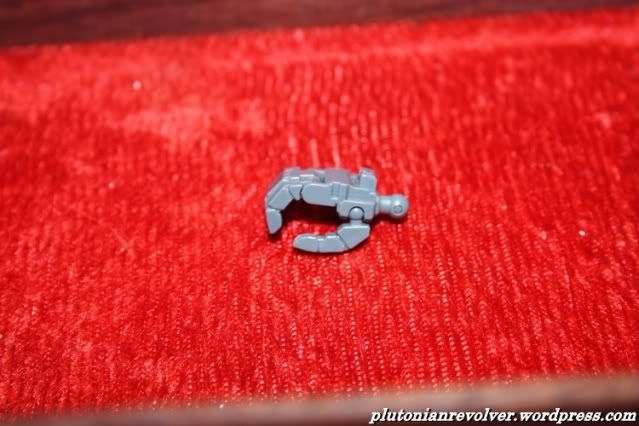
Completed leg! All it needs are the armour pieces

It's double jointed just like the arms
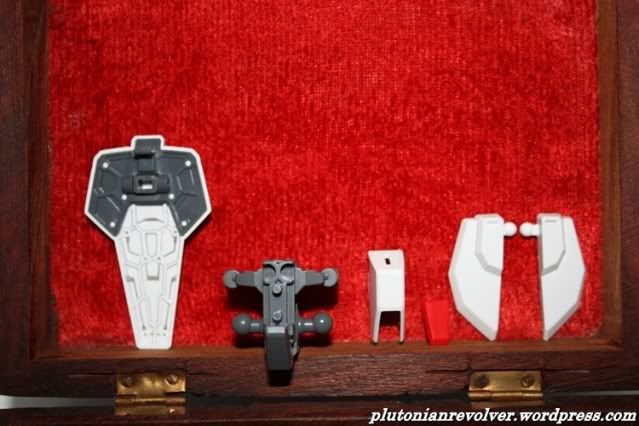
Armour pieces for the upper part of the leg and some other detailed inner skeleton parts? I duno x)
Armour pieces for the lower part of the leg
Parts for the ankle. This part connects the leg to the 'shoe'. I seriously need to find out what it's really called LOL
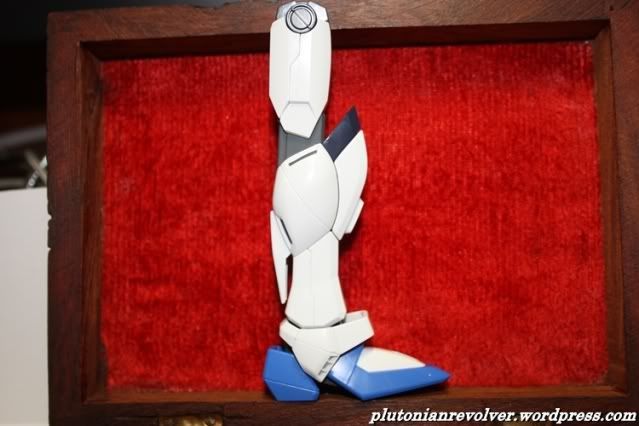
Yesh! Completed leg!
"Gimme my legs!!" ahhahah
There you go Freedom, some legs for you to stand up
Hmmm...what's the matter? The chest box was too squeezy for you wasn't it? xD
Don't stand on a bottle Freedom!! You're not used to your legs yet!
You're already posing!? Can't you wait for the review session? You don't even have your wings yet ahahaha
Yup, thats it for today. Day 4 of construction has ended. Progress is going smoothly and I hope I can finish building him tomorrow. Wings and weapons left so yeah. See you all tomorrow =)
Day 5 Update(24/5/09)
YESH! WOOOOO I’M DONE!!! I’ll have a review up soon. Seriously exhausted XD

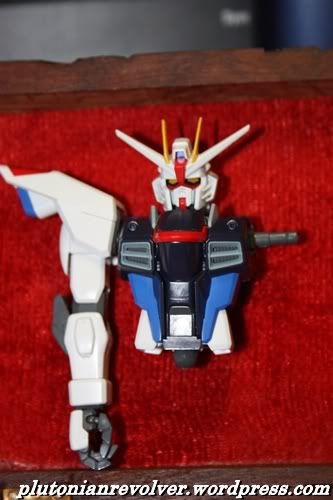
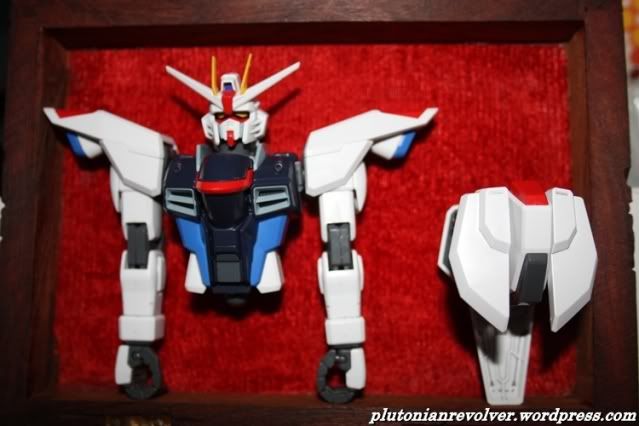
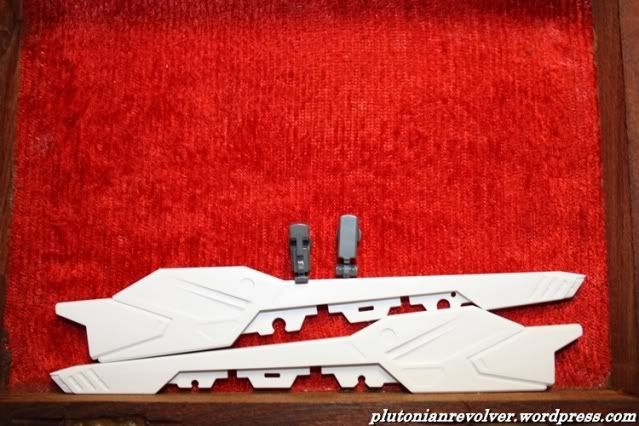
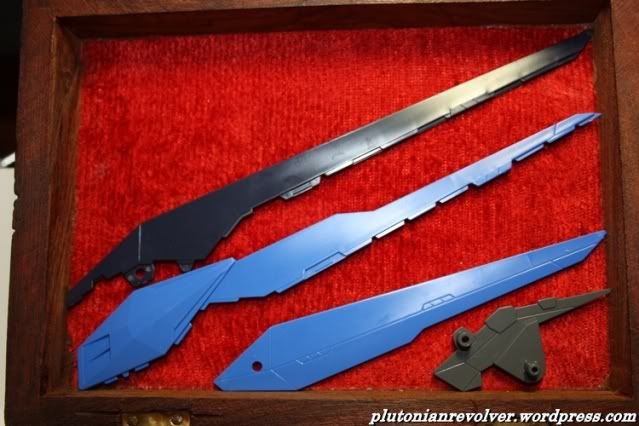
Pieces for the back part of the side cannon

Pieces for the front part of the side cannon
Pieces for the middle part of the side cannon
Pieces to hold the back and middle part together

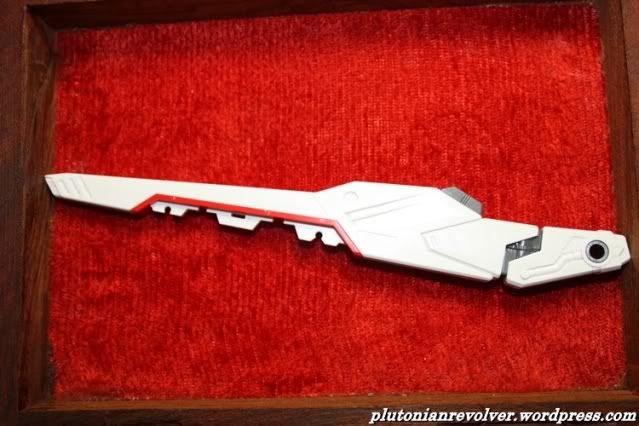
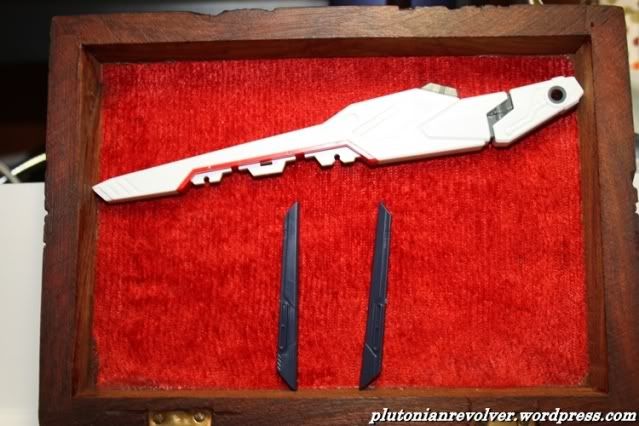
Both side cannons completed!
Feelin' lucky punk~?
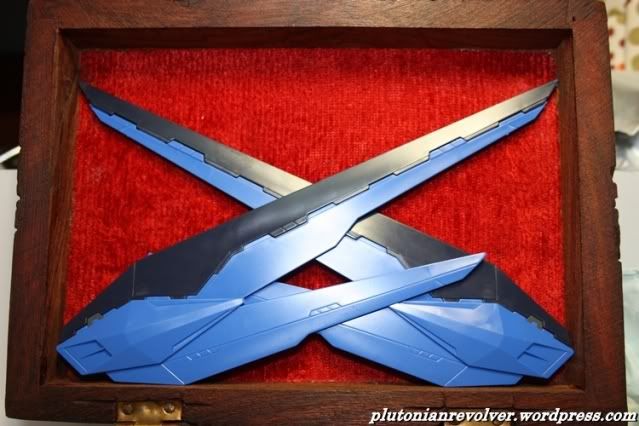
Side cannons folded
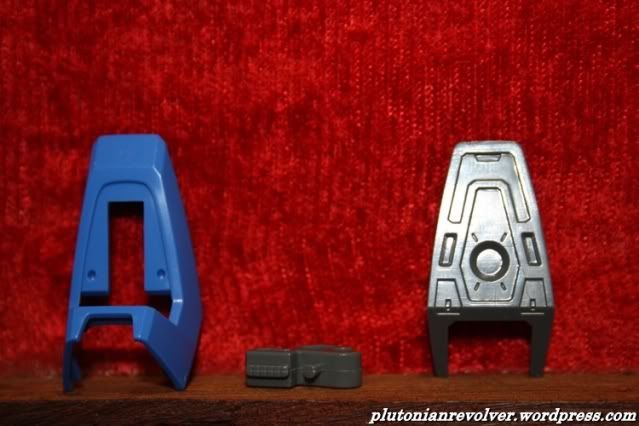
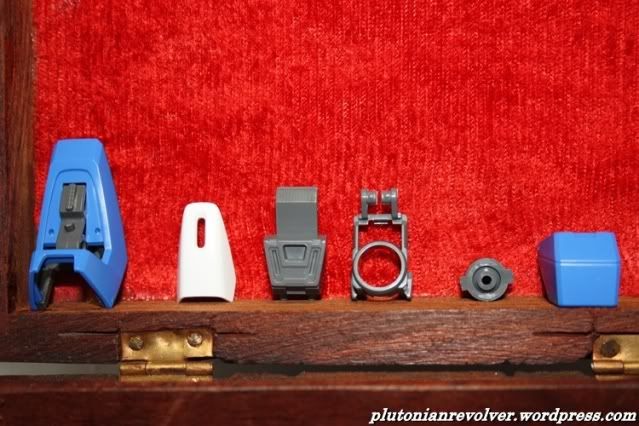
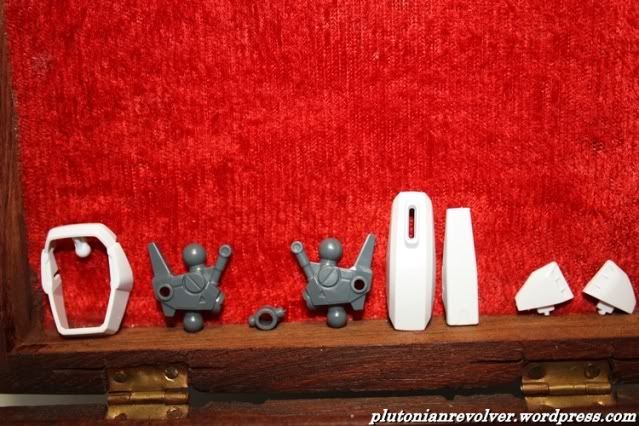
Guess what these parts are for~
What about these~?

And these~?!
O.o
o.O?!
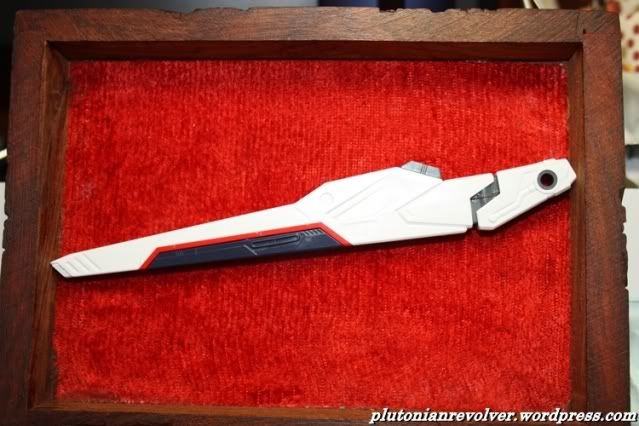
A cannon!? Ooooo~
Spiky~
Apani!? (whats this?!)
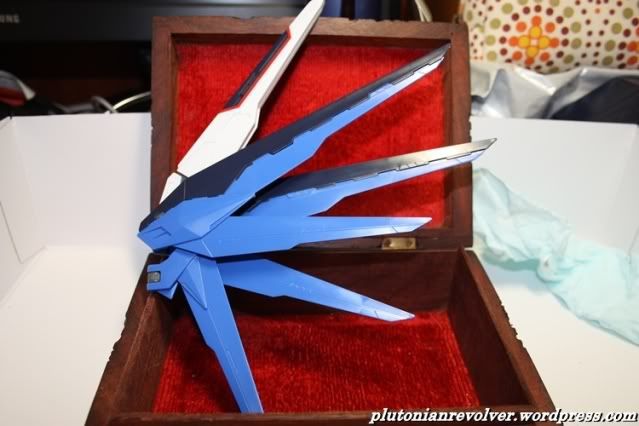
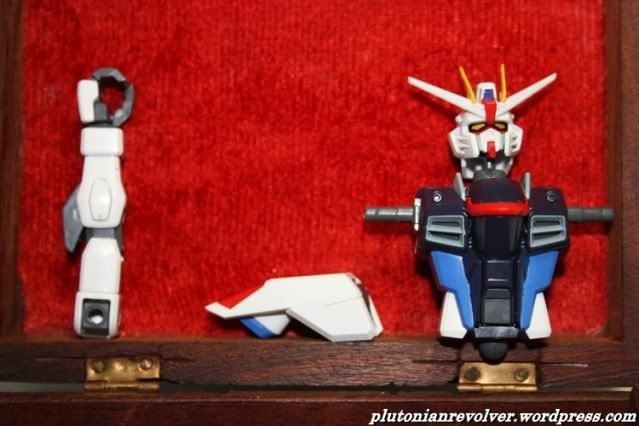
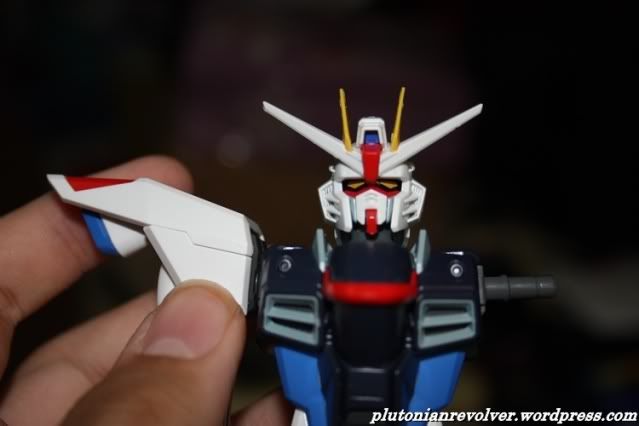
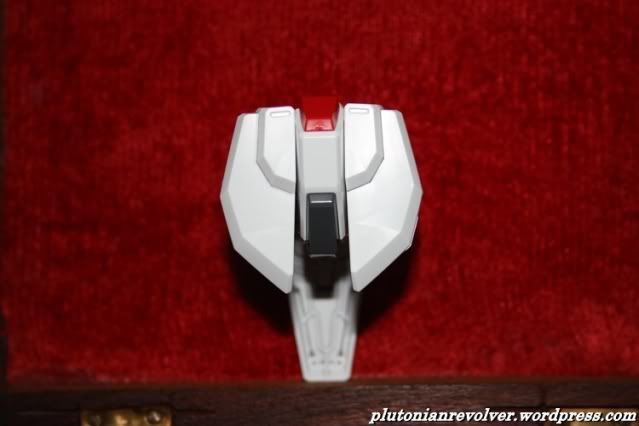
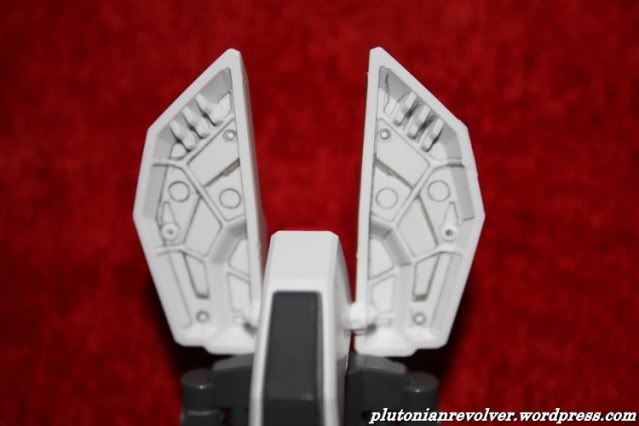
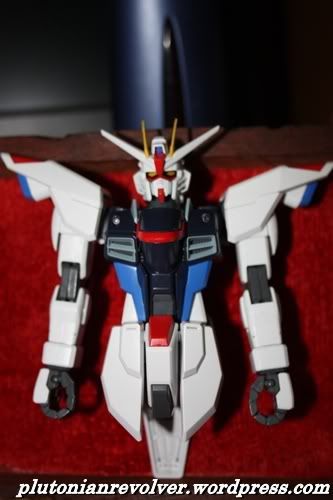
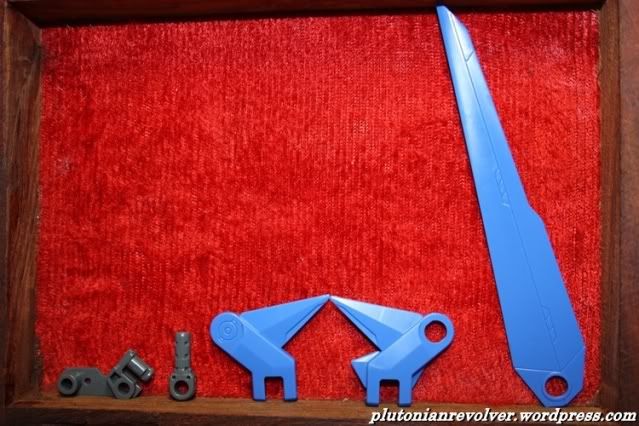
I'm sure you know what this is! It's Freedom's 'wings'!! Wooo~

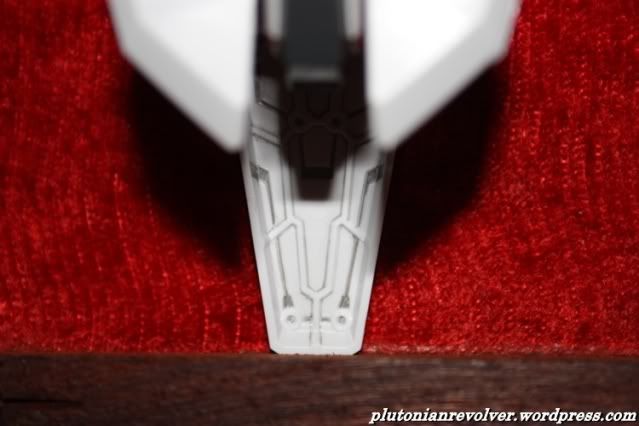
This is the part that holds both wings
And... they're in!

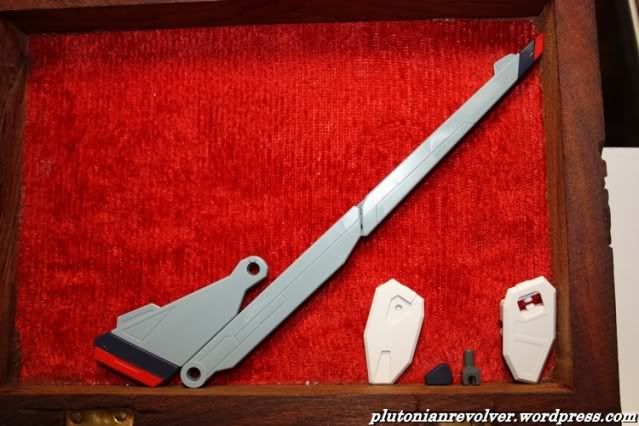
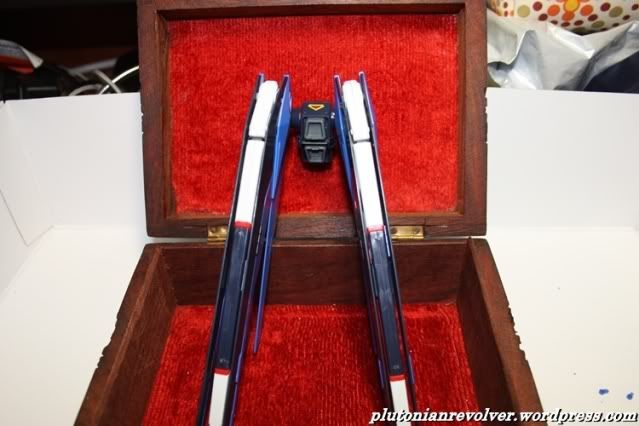
The 2 halves that make up the beam rifle and that small thingie is for the side handle
White part for the erm...'armour' of the beam rifle LOL and it's front nozzle
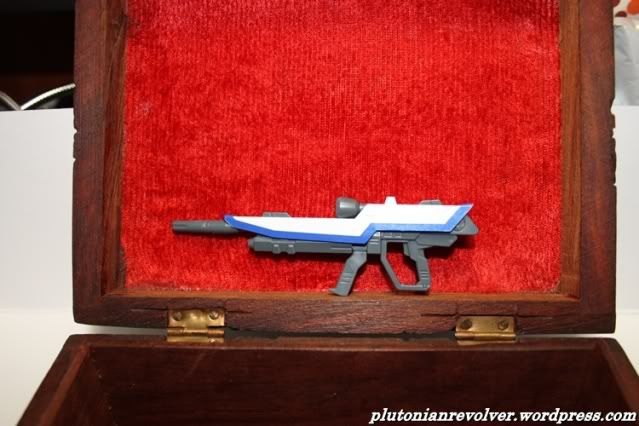
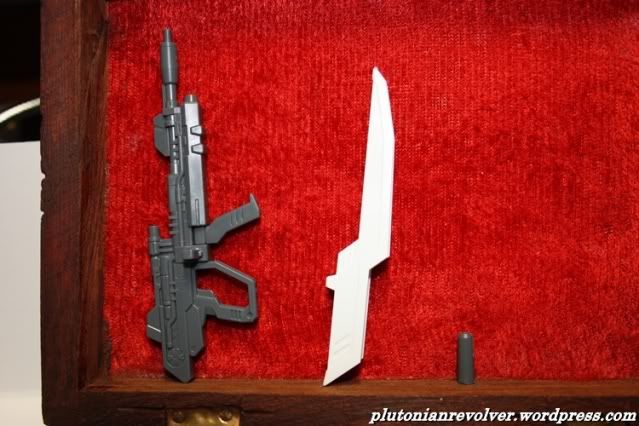
Completed beam rifle~
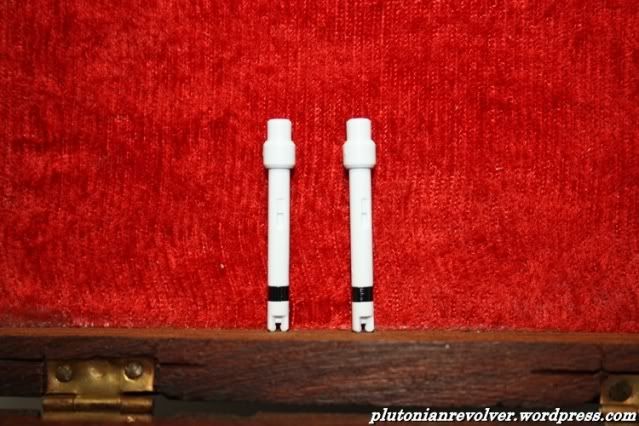
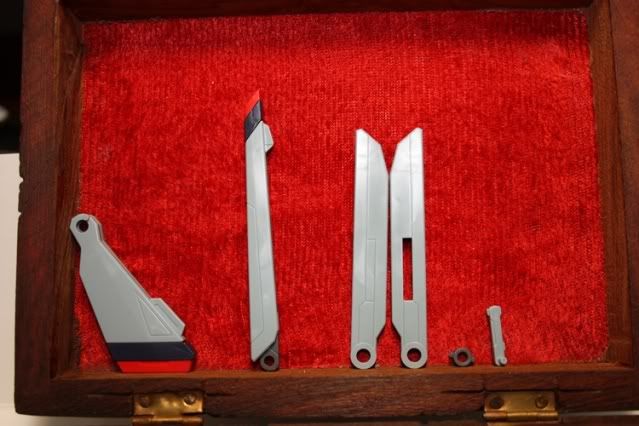
2 beam sabres included

The last item to be built...
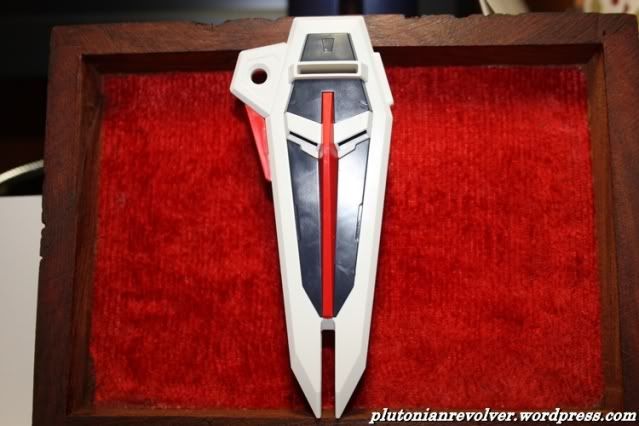
...Freedom's shield~
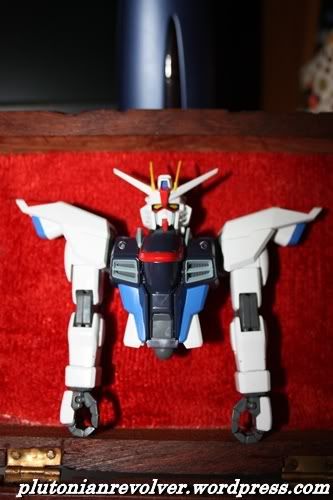
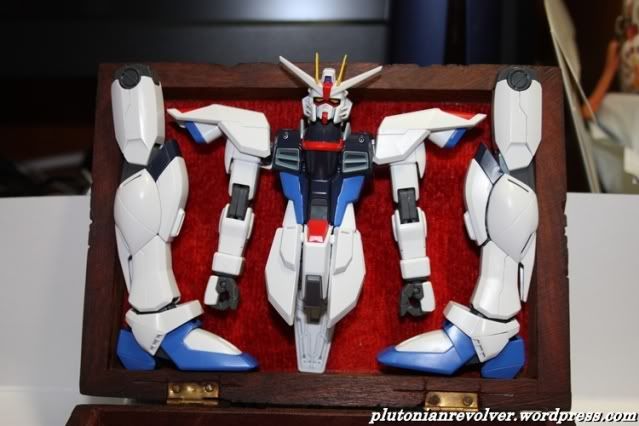
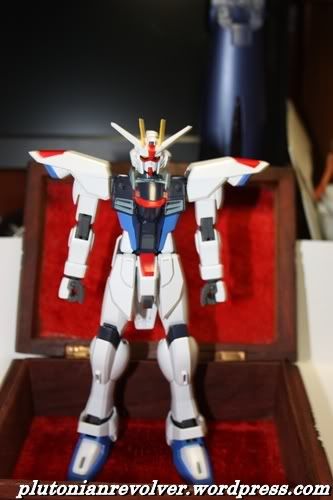
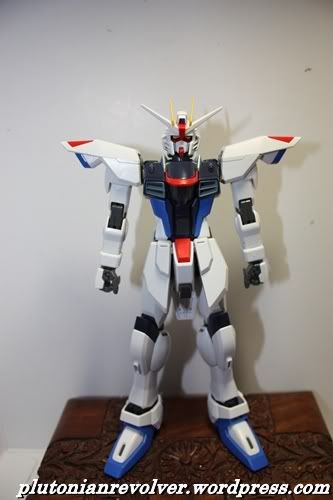
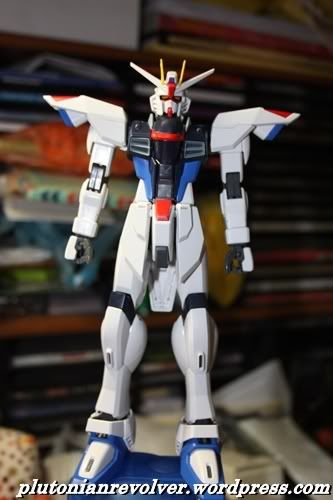
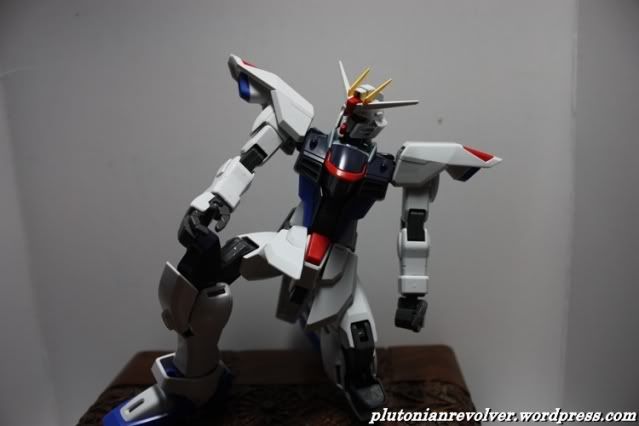
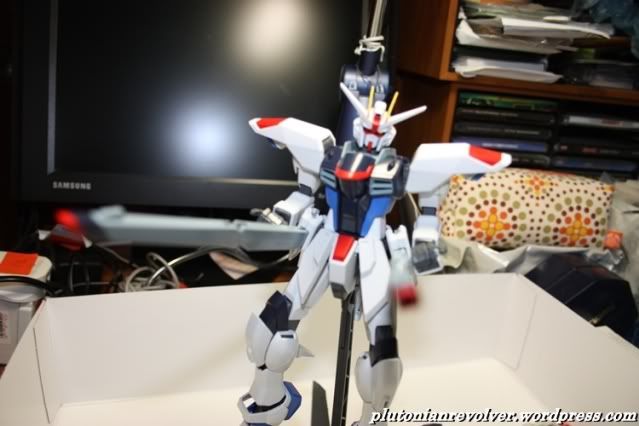
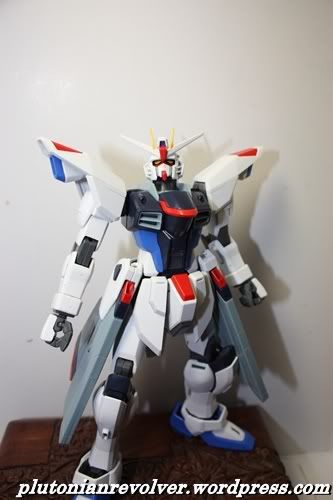
And the moment you’ve all been waiting for~

Bwahahahhaa! Kira Yamato, Freedom. Launching!
Yup, that was seriously tiring. Never built a master grade before, heck this shall be my first GunPla(the previous ones shall not be accounted for as I didn’t care when I was 6 years old) =D ahahhaha. Expect a review of this model soon. Thanks for viewing. Can’t wait to build the Strike E + IWSP. That shall be for another day…or week… who knows~~ WoOoo~~
Next up: Freedom’s Review


Pingback: 1st Work In Progress « ~Fadhli’s Gundam Blog~
o.O Freedom~~ dont cut out a chunk from the shield like my force impulse xD
LOL I think I cut some parts abit too much by accident man *cries*
loll imba stuff u got dere =P
Pingback: Update on Freedom(W.I.P) « ~Fadhli’s Gundam Blog~
Hi Faddy, Can’t wait to see when you finish assemble the gundam XD Freedom and Strike it’s one of my Favourite too 😉
Sugguest to get Gundam marker, http://www.hlj.com/product/GNZGM01 Make your gunpla look more cool 😉 if you got travel to miri Boulevard, you can get from there or Toysworld 😉
Sooner or later try some painting job 😉
Pingback: 3rd update « ~Fadhli’s Gundam Blog~
Pingback: 5th Update? « ~Fadhli’s Gundam Blog~
I`ll kick his ASS next week!!woohoooo!!!! LOL
Red Frame: Talur!! Brabis jua! Bring it on! AHahhahaha. Your Red Frame has an ass kicking appointment with my Freedom! Bwahahaha
Pingback: 4th Update~ « ~Fadhli's Gundam and Video Games Blog(Plus other randomness)~
Pingback: 100th Post! Appreciation post =D « ~Fadhli's Gundam and Video Games Blog(Plus other randomness)~